


It all started with Motion Collabs #8 when the fears of the pandemic were first spreading. This project was a straightforward frame-by-frame roto on footage done in Photoshop.
I decided to dip my pinky toe into Cinema 4D by trying a projection mapped texturing technique and a simple explosion. Final composite, colour correction, and zoom-in was done in After Effects.
I decided to dip my pinky toe into Cinema 4D by trying a projection mapped texturing technique and a simple explosion. Final composite, colour correction, and zoom-in was done in After Effects.


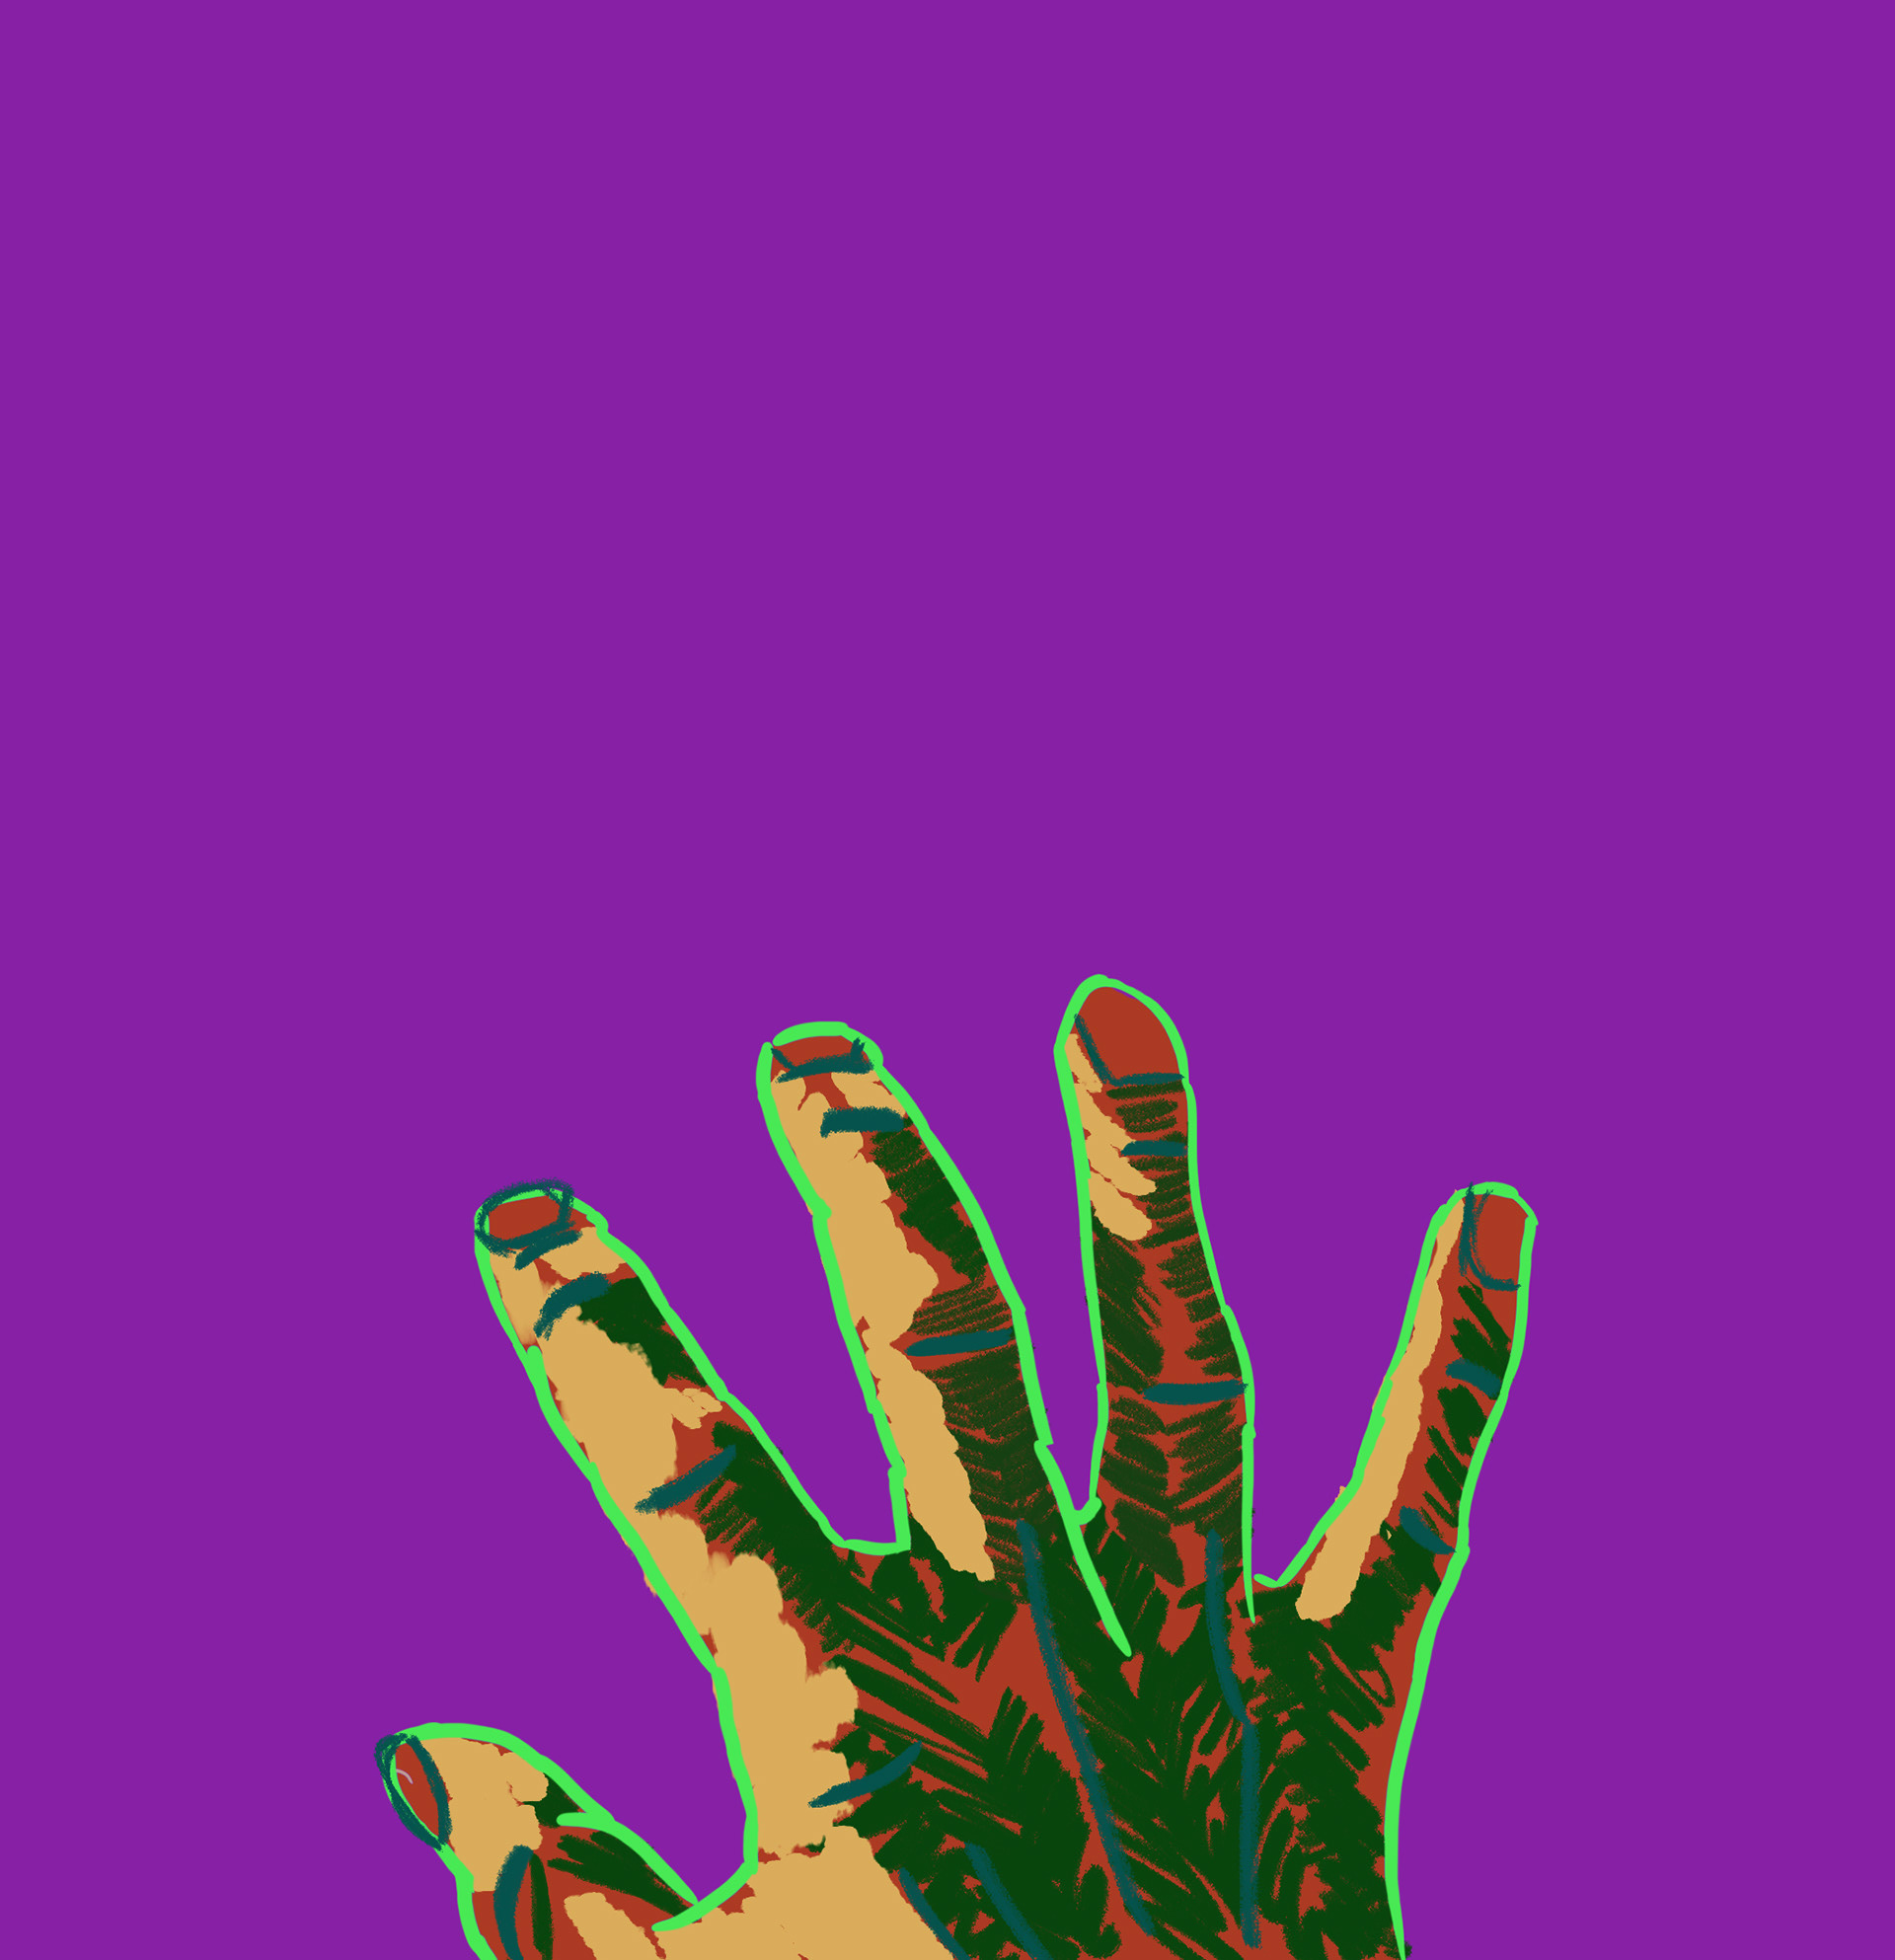
I started by researching zombie-related themes. The first idea was an item transition between iconic zombie symbols but it was too big to be completed on time. I decided to go with a rising-dead hand and a fun shotgun blast. At the time it was a simpler idea and my hand would be the only actor I needed.
After sketches were complete I recorded my hand with dramatic lighting. I made the first style frame on a poorly chosen frame (since I was inspired to work at 2 AM), but it made me confident that spending the time to roto would look good.
After sketches were complete I recorded my hand with dramatic lighting. I made the first style frame on a poorly chosen frame (since I was inspired to work at 2 AM), but it made me confident that spending the time to roto would look good.


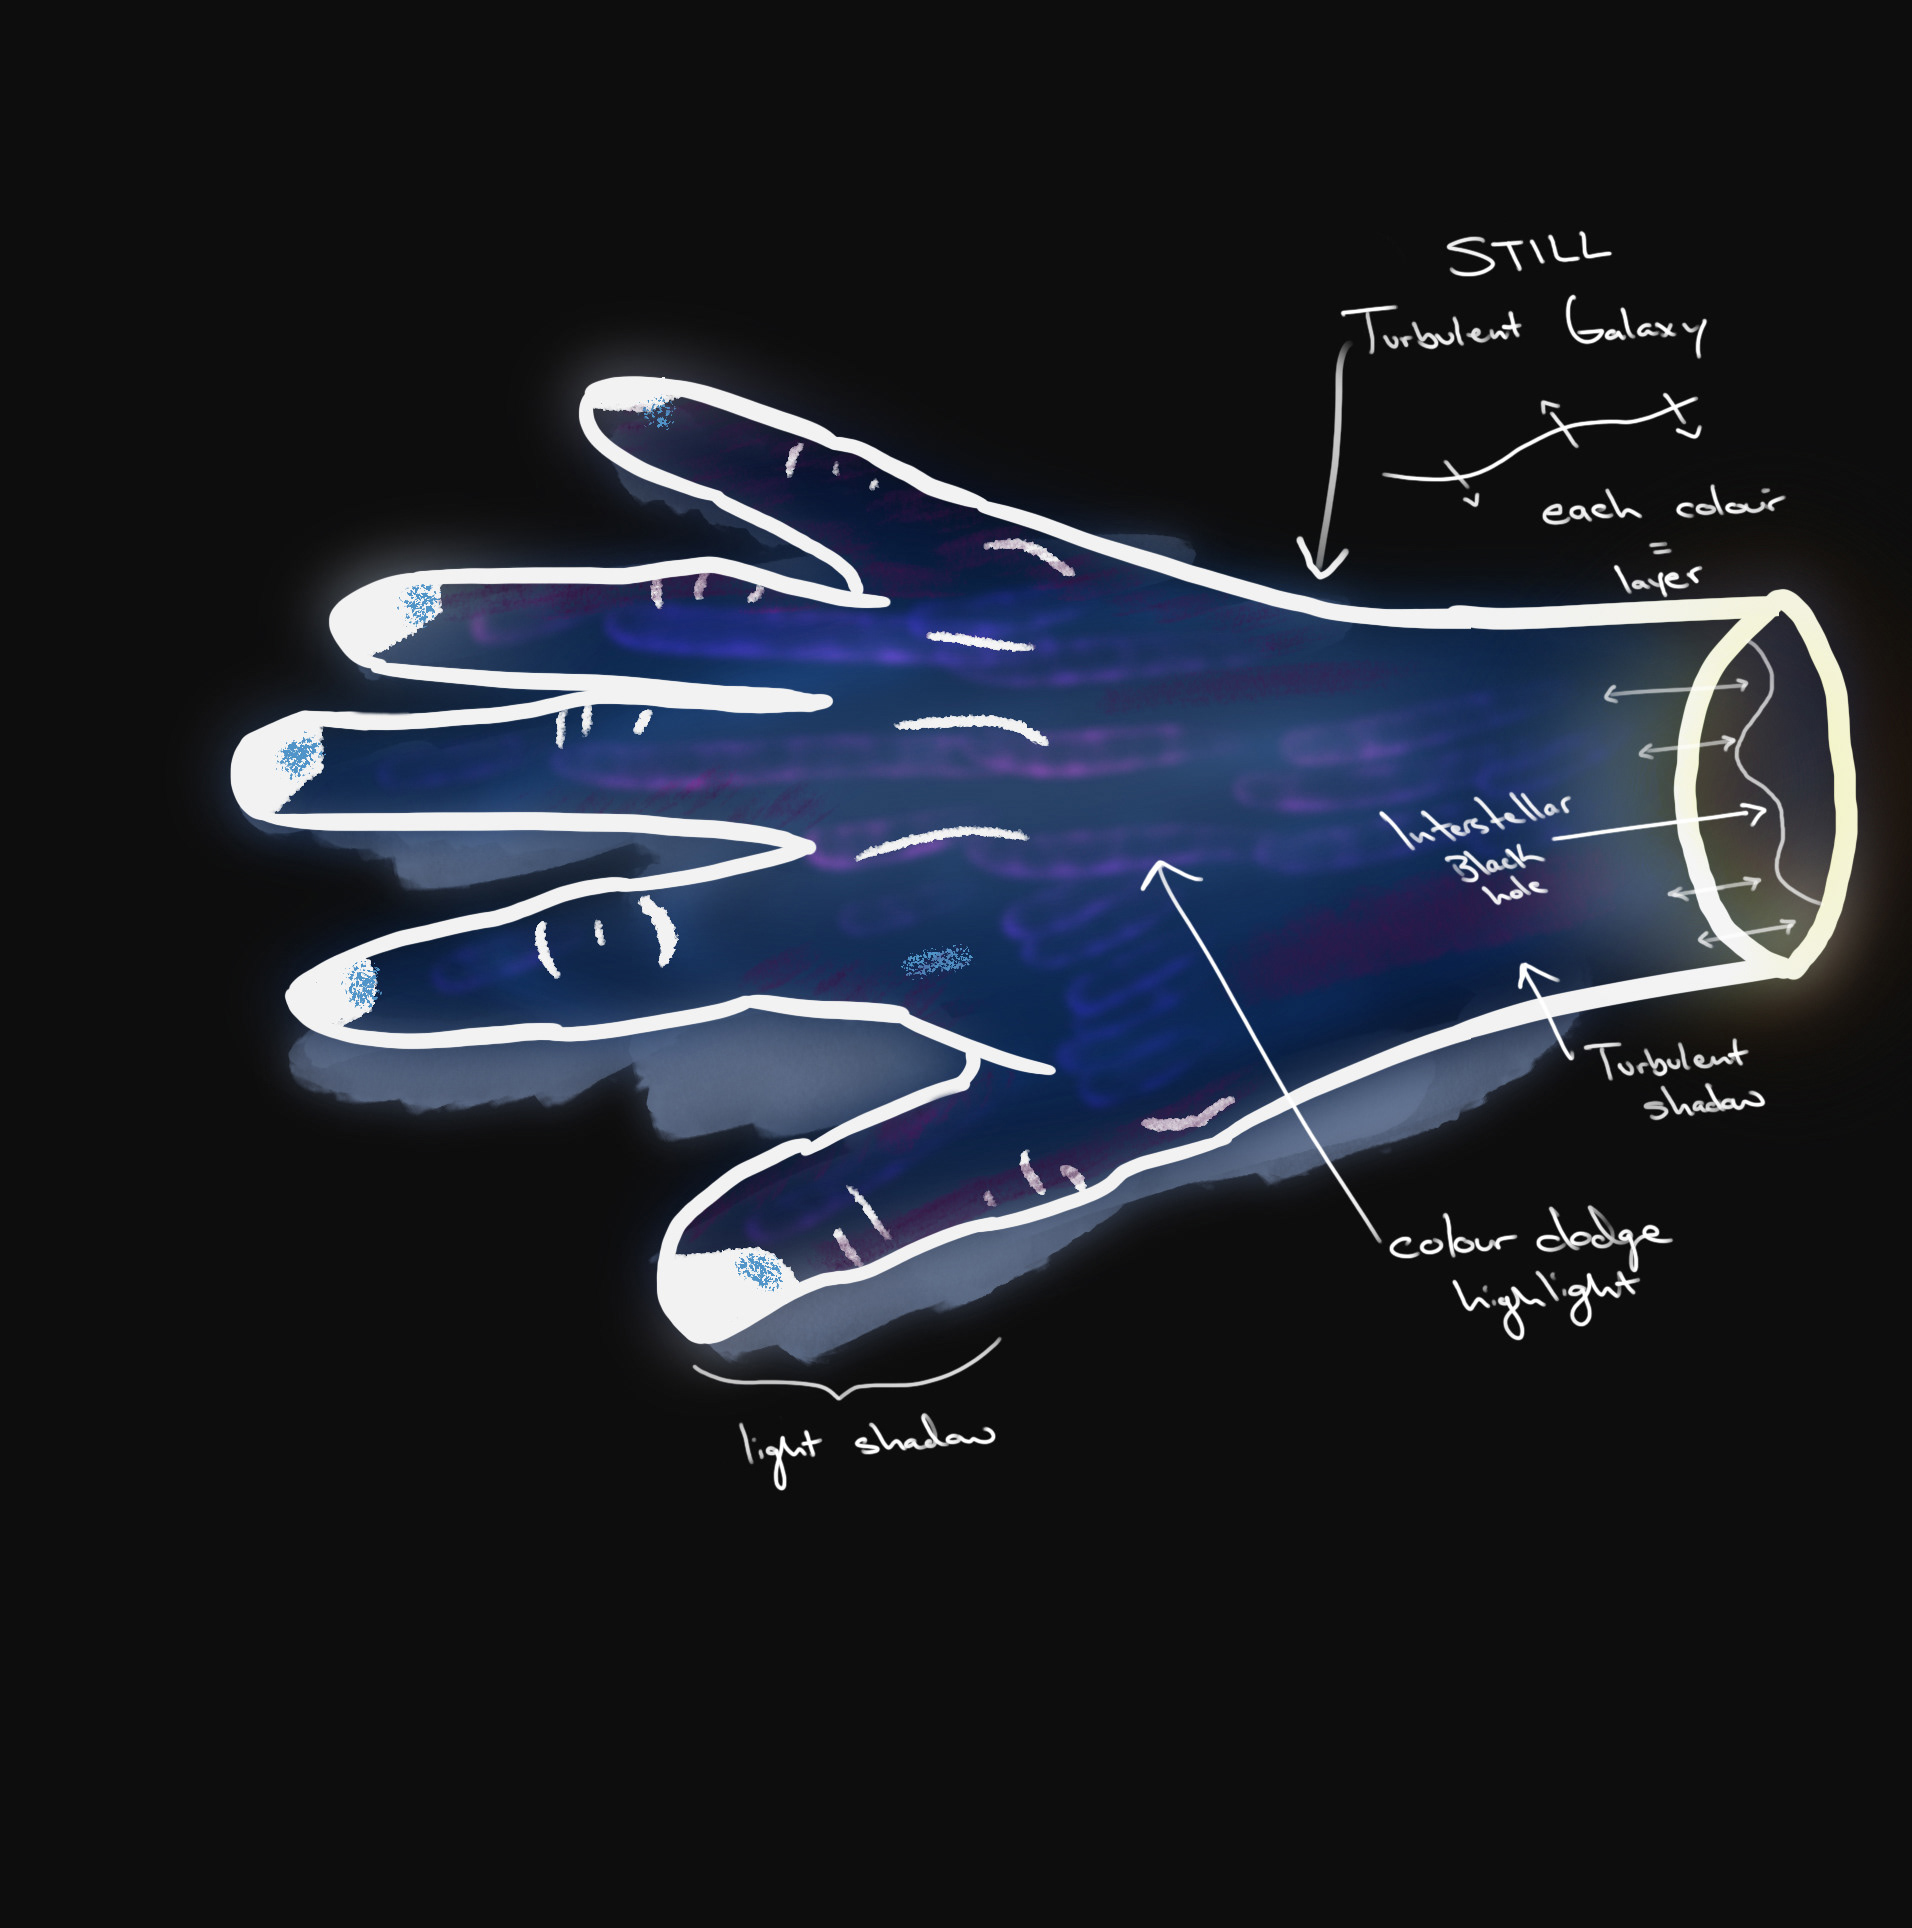
The bulk of production work was rotoscoping the hand. I was working in 12fps on 2s and gave each layer (skin, outline, shadow, and highlight) a unique brush and stroke. Once the roto was done I began to play around with the colours. I settled on a neon post-apocalypse palette I found on Adobe Color Explore.
The final production piece was the 3D explosion which I made by following the first explosion tutorial I found. Finally, I built a hole-shape in 3D that I used as a guide to roto afterwards.
The text was a simple 12 frame drawing on static text. I duplicated the animation and offset it to give it make it more visually interesting. Final composite was done in AE: glow, grain, defocus, and a slight zoom-in onto the text.

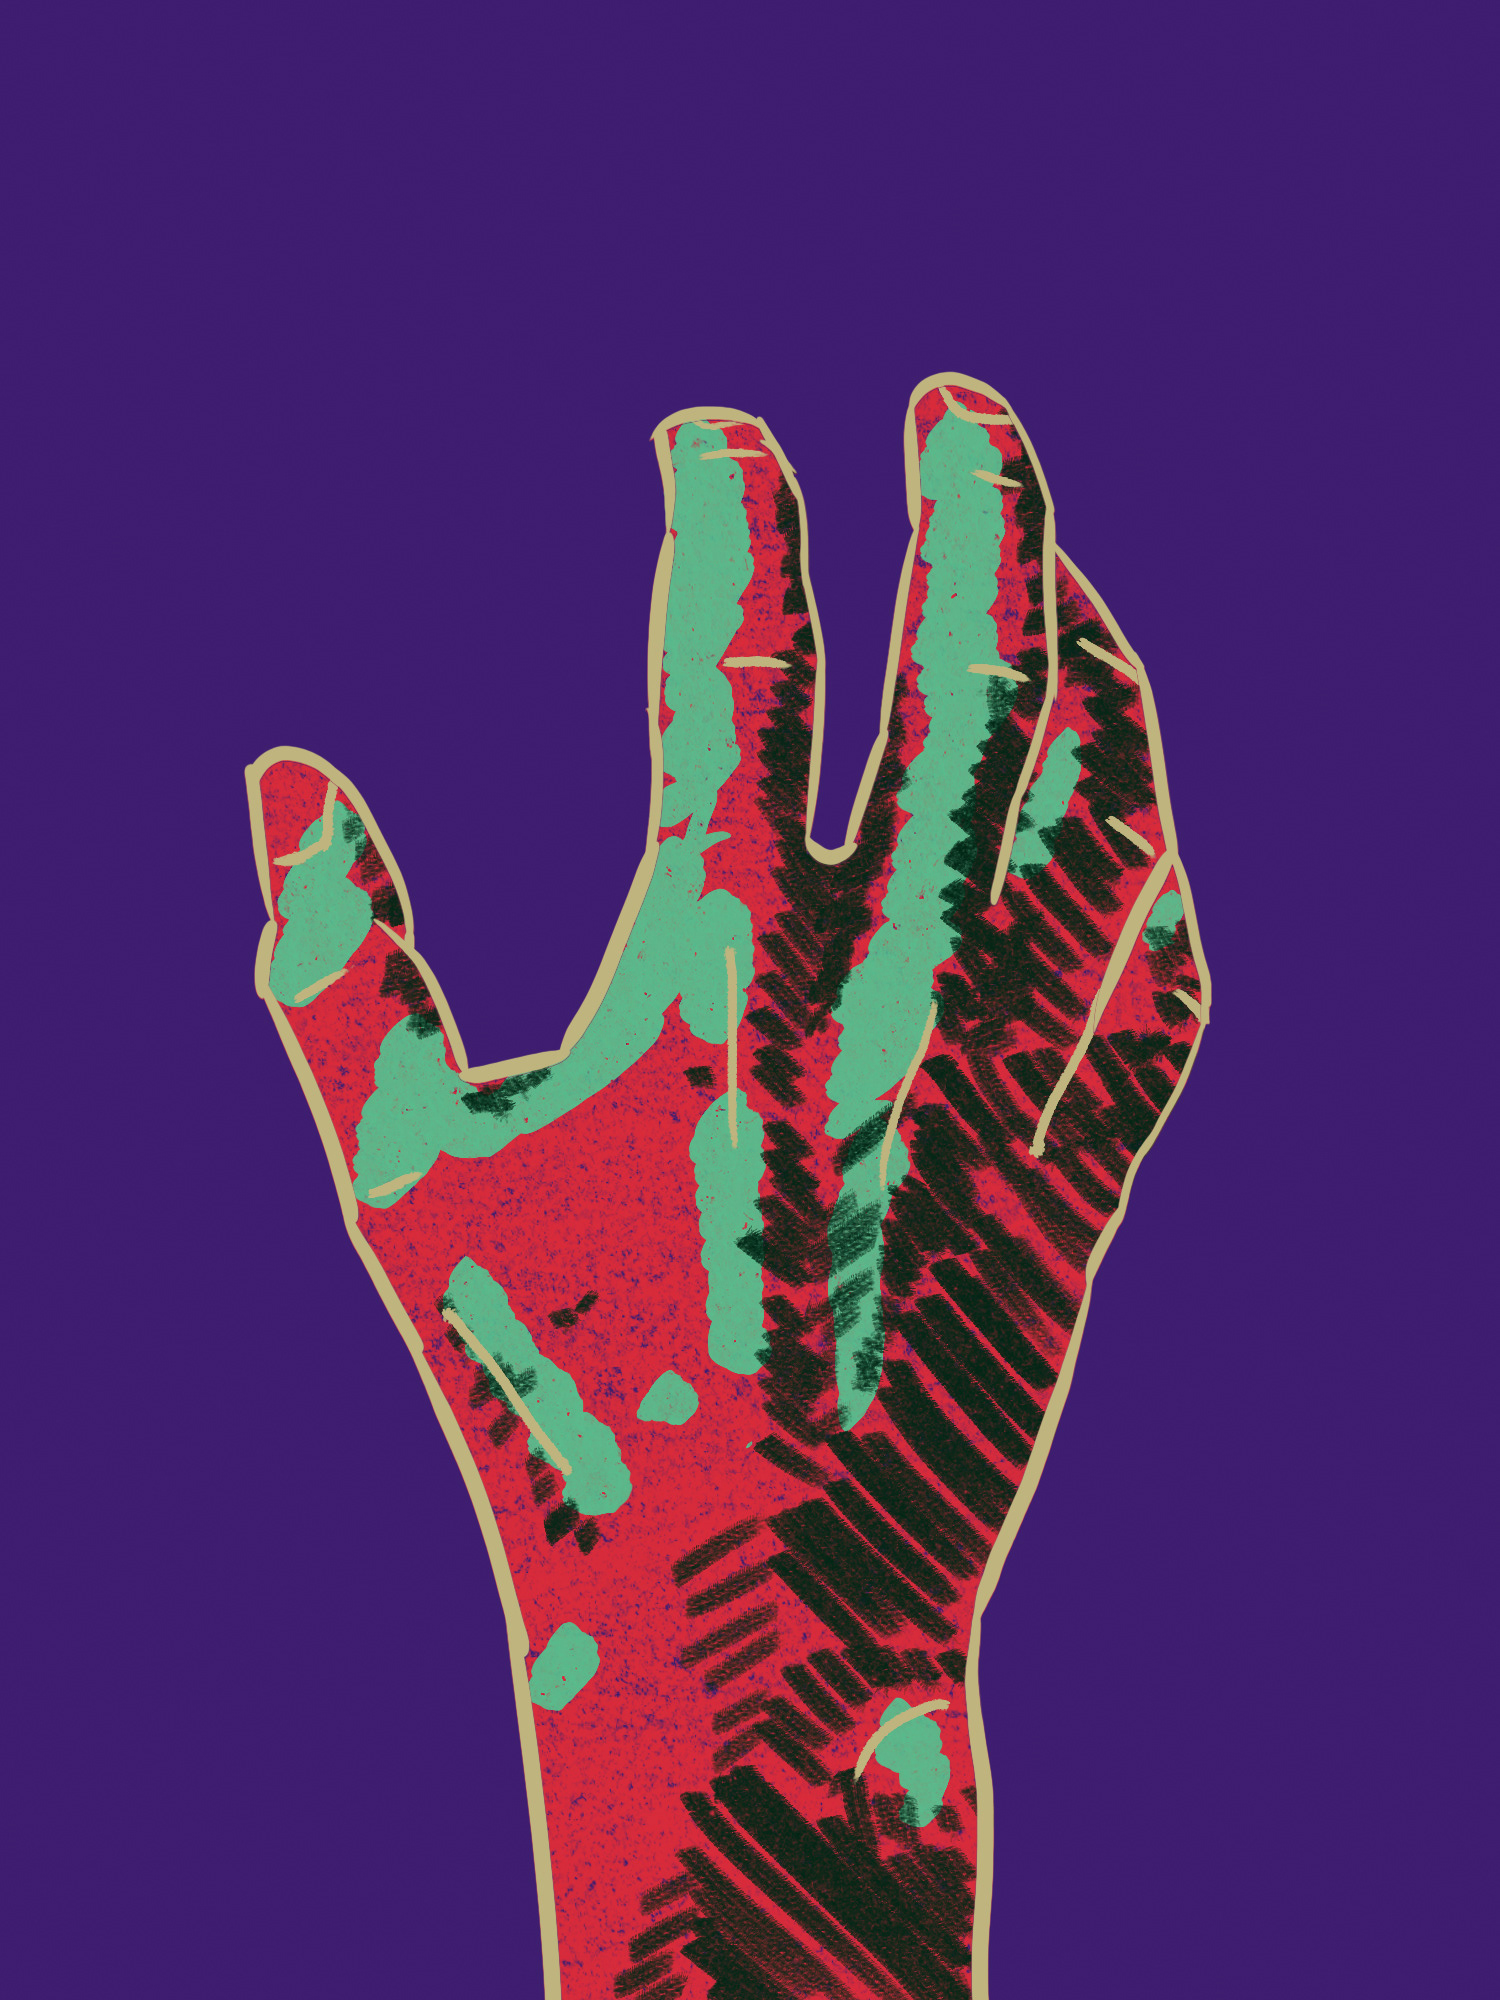
Following Zombie Hand, I had built a decent workflow to film, roto, and composite an idea. I decided to take it further with a slightly masochistic project. Sunset Walk was another frame-by-frame roto done in Photoshop but made in 24fps on 1s. It's only 33 frames long but each finger has it's own layer.


The original design was a blend of Ancient Egyptian themes with a cosmic appearance. It continued into the first pass of colouring, but was eventually dropped when I decided to go with a brighter colour palette and embrace the abstract nature of the piece.
The reference footage took a while to become use-able. It was tough to record a hand walk that could be looped and my fingers don't naturally move like feet. I used AE to adjust the fingers to get a more "natural" walking rhythm.
The reference footage took a while to become use-able. It was tough to record a hand walk that could be looped and my fingers don't naturally move like feet. I used AE to adjust the fingers to get a more "natural" walking rhythm.


Rotoscoping the hand was a long process. I wanted the fingers on separate layers for better control is post-production. Additionally, I had to re-draw and refine a lot to remove outline jitters.
I motion-tracked the plate to get an accurate opening for the hand. The motion track also helped when animating the moving water inside. I used the track-data to drive the y-position and rotation of the fluid inside to give it an accurate secondary motion.
For a finishing touch, I frame-by-frame drew shadows under the fingers. They were a couple brush strokes with an animated opacity. I brought it all into AE for the standard finishing: textures, background, and final composite.

This was my first major project done almost entirely with 3D software. It was originally going to be another rotoscope project but when I faced production hurdles I decided to go with a different approach.


As always, everything starts with a sketch. When I recorded the reference footage I added tracking markers to my hand because I knew I wanted some 3D elements. The markers were incredibly useful but could have been better if I didn't film in a dark basement with poor lighting.
I quickly realized that building assets in 3D and then rotoscoping them would be a tedious process. Plus the final result didn't seem like it was worth all that effort.
I quickly realized that building assets in 3D and then rotoscoping them would be a tedious process. Plus the final result didn't seem like it was worth all that effort.

Once I decided to keep the accessories 3D, I rendered them with the Toon shader. The new approach looked a lot better but I lacked the ability to modify the piece and try new ideas. Everything was tied to the rotoscoped hand, and changing the hand's timing or angle would mean re-shoots or a lot of manual work. Additionally, I would have to re-track and re-render everything if the base hand was changed.

I decided to go with the easier path...to build, texture, and rig a 3D hand.
In the end the effort paid off.
In the end the effort paid off.
Above are renders v001, v002, and v005. It started with a very rough flying motion and locked camera. I continued to refine the motion and camera angle with each version. I used Signal from Greyscale Gorilla to give each finger a looping ambient motion like it's flying in the wind. The water was built with HOT4D; a free and powerful Houdini Ocean Toolkit.
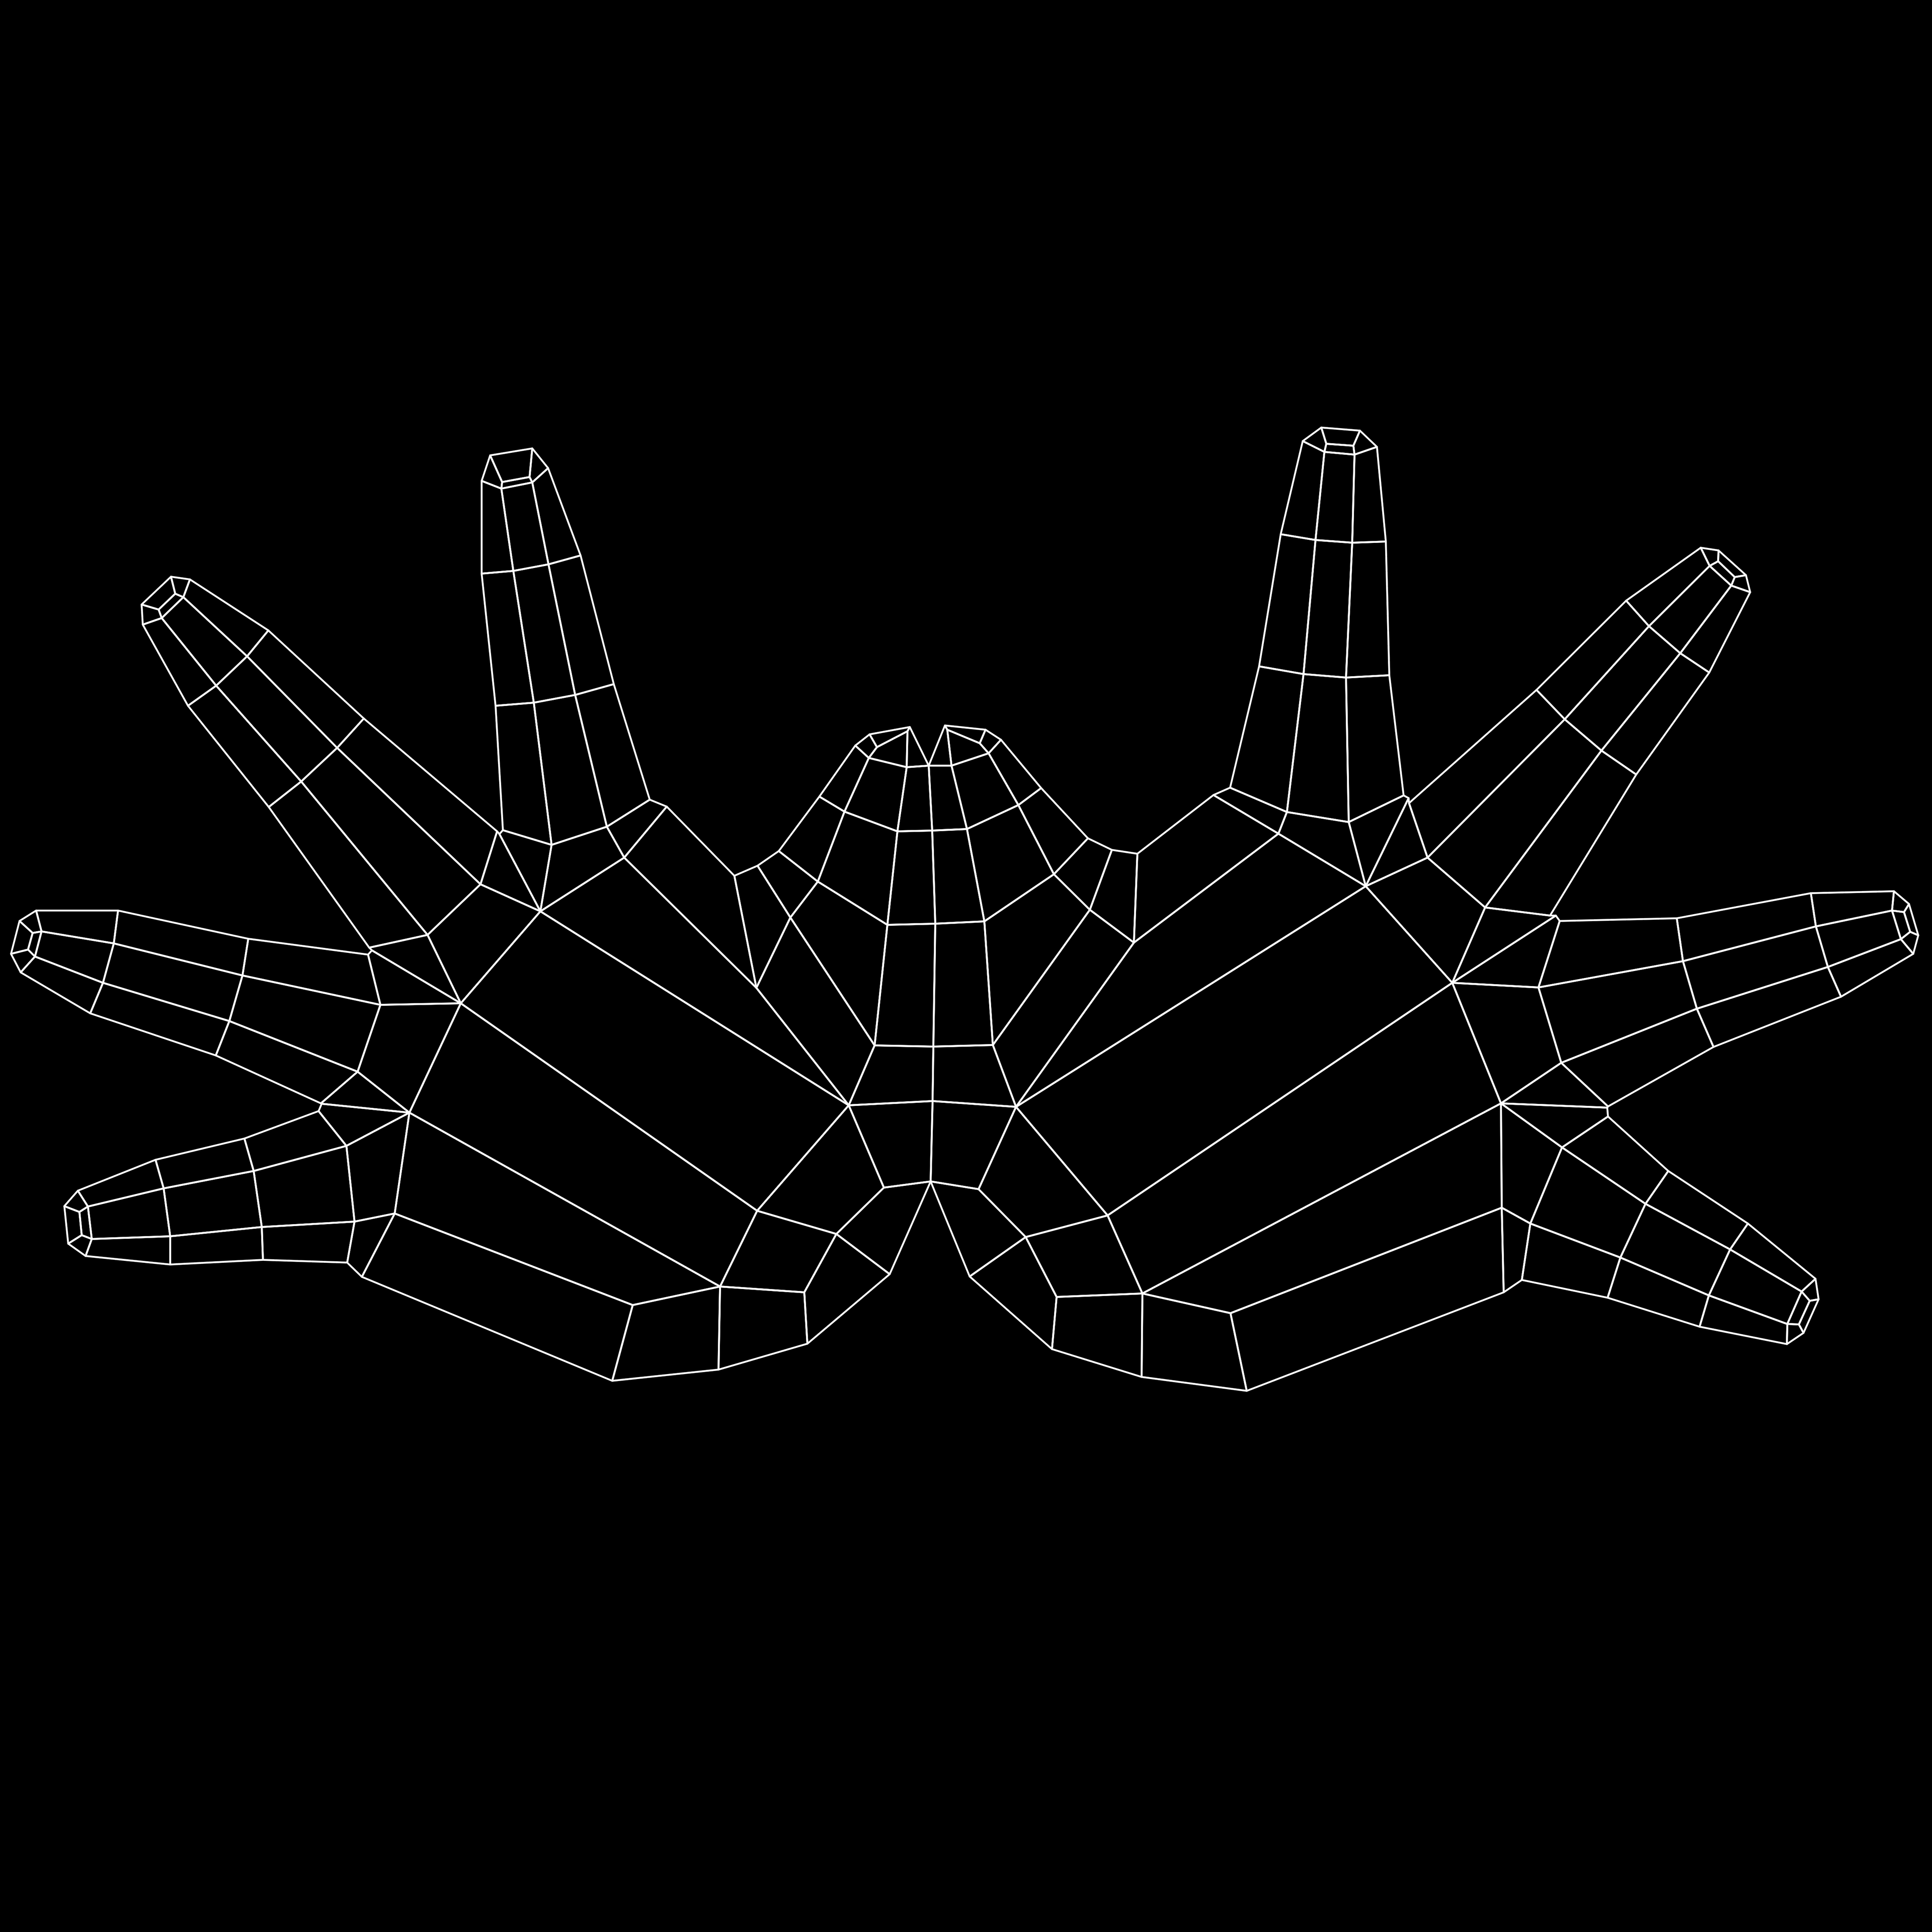
After re-making the hand once, I managed to build proper UV's that I could actually work with. I exported the UV outline to Photoshop to create a hand-drawn outline, and in After Effects I created a looping boil effect with Turbulent Displace. I brought the final animation back into Cinema 4D to create a looping animated texture with an alpha channel to give the model transparency.


The finishing touches were the smoke trail and background clouds. The trails were created with Trapcode Particular parented to nulls I imported from C4D to match the jetpack exhaust location.
The background clouds were a relaxing treat at the end. I played around drawing a variety of clouds until I had the size, angle, and lighting I wanted. In AE I added turbulent noise to give it a dream-like shimmer, and slightly recoloured them when compositing.
The background clouds were a relaxing treat at the end. I played around drawing a variety of clouds until I had the size, angle, and lighting I wanted. In AE I added turbulent noise to give it a dream-like shimmer, and slightly recoloured them when compositing.


